

| What you’ll do | Drain, replace the filter and washer, refill, verify |
| Difficulty | Moderate, and easier with ramps than a jack |
| Time | About 30 to 45 minutes with practice |
| The part people forget | A new crush washer for the drain plug |
| The step people skip | Rechecking the level and leaks after running the engine |
| The one hazard | Never go under a car held up by a jack alone. |
Most oil change checklists are really drain-and-fill lists. They cover the middle of the job and stop, which is why the mistakes that actually cause problems, a reused crush washer, a dry filter gasket, a level that was never rechecked, keep happening to people who followed a checklist.
This one is in three parts: what to gather, the steps in order, and the verification and disposal steps at the end that separate a finished job from a job that leaks in the morning. There is also a short section for readers who are paying a shop rather than doing it themselves, because knowing what to check is useful either way. For everything else oil-related, start at the complete oil and engine oil guide.
Your oil grade, oil capacity, and drain-plug torque are specific to your engine and are not listed here. Get all three from your owner’s manual before you start, because guessing any of them causes real damage.
Table of Contents
Before you start: supplies and prep
Gather everything before the car goes up, because discovering a missing filter with the oil already drained means a long walk. The three items to confirm against your owner’s manual are the oil grade, the oil capacity, and the correct filter for your engine.
| Item | Why you need it | Note |
|---|---|---|
| Correct oil, correct amount | Grade and capacity are engine-specific | Buy slightly more than capacity |
| New oil filter | Old filter holds contaminated oil and debris | Match it to your engine, not just the model |
| New drain-plug crush washer | The old one is designed to seal once | The cheapest part, and the most forgotten |
| Drain pan | Catches the old oil for recycling | Capacity larger than your sump |
| Socket or wrench, plus filter wrench | Removes the plug and the filter | Cartridge filters need a specific cap tool |
| Funnel, gloves, rags | Clean refill and cleanup | Nitrile gloves; used oil is a skin irritant |
| Ramps, or a jack plus rated stands | Safe access underneath | Plus wheel chocks, always |
Buy the oil grade the manual specifies rather than what is on offer. The Department of Energy notes that using the manufacturer’s recommended grade of motor oil affects how efficiently the engine runs, and a thicker or thinner oil than specified works against the design. A fuller breakdown of the kit is in the tools needed for an oil change.
Prep takes two minutes. Run the engine for three or four minutes so the oil is warm and flows freely, then shut it off and let it sit briefly. Warm oil drains far more completely than cold, but oil straight off a long drive is hot enough to scald. Park on level concrete, not on a slope or gravel. Budgeting the time is covered in how long an oil change takes.
The oil change steps, in order
Work through these in sequence. The details that prevent leaks are in steps 4, 5, and 6, and those are the ones most commonly rushed.
- Secure the car. Drive onto ramps, or lift with a jack and lower onto rated stands. Chock the wheels remaining on the ground and confirm the car is stable before any part of you goes underneath.
- Position the drain pan. Locate the drain plug at the lowest point of the oil pan, and place the pan slightly offset, because the first oil comes out at an angle rather than straight down.
- Remove the plug and drain fully. Loosen the plug with a socket, then unscrew it by hand while pushing inward to control the release. Let it drain 10 to 15 minutes until the flow becomes an occasional drip.
- Fit a new crush washer and reinstall the plug. Replace the washer rather than reusing it, thread the plug in by hand to avoid cross-threading, then tighten to the torque figure in your manual. Snug is the target, not maximum effort.
- Remove the old filter. Expect oil to spill, so reposition the pan underneath first. Confirm the old rubber gasket came off with the filter, because a gasket left stuck to the engine will double up against the new one and leak badly.
- Oil the new filter’s gasket and hand-tighten it. Wipe a film of fresh oil around the new filter’s rubber gasket so it seals and can be removed next time. Spin it on by hand until the gasket contacts, then tighten roughly three quarters of a turn further. Do not use a wrench.
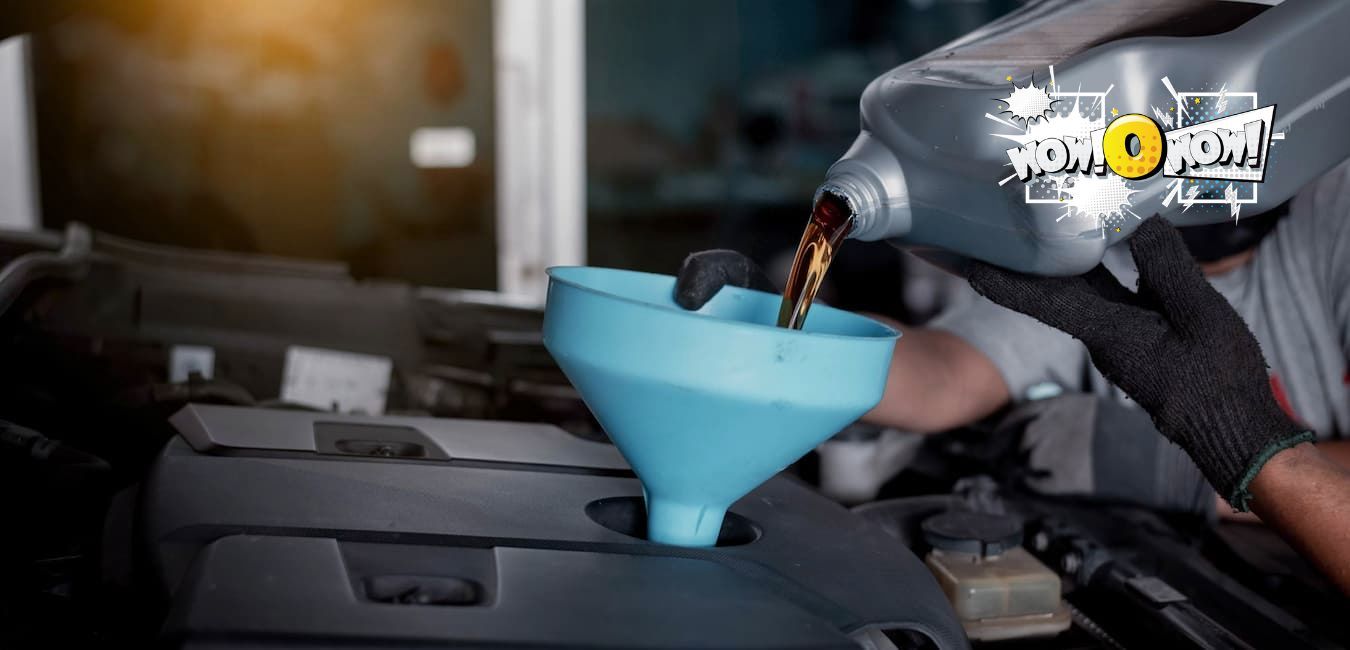
- Refill with the correct amount. Lower the car, remove the oil filler cap, and add slightly less than the manual’s capacity through a funnel. Refit the cap.
- Run the engine and check for leaks. Start it and let it idle for about a minute while the oil pressure light goes out and the filter fills. Look under the car at the drain plug and the filter for drips.
- Shut off, wait, and recheck the level. Give the oil five to ten minutes to drain back to the sump, then check the dipstick and top up in small amounts to reach the full mark.
Caution: drained oil is hot enough to burn, so wear gloves and keep your face clear of the plug as it releases. Never put any part of your body under a car supported only by a jack. If the drain plug spins without tightening, or the threads feel gritty, stop rather than forcing it, because a stripped oil pan thread is a far larger repair than an oil change. Hand the car to a shop at that point.
Two related points worth knowing: topping up onto a hot engine has its own considerations, covered in whether you can put oil in a hot car engine, and skipping the filter entirely to save a few minutes causes its own problems, covered in what happens if you do not change your oil filter.
The mistakes this checklist is designed to prevent
Five errors account for most oil changes that go wrong, and all five happen during steps that feel trivial. Each is easier to avoid than to fix.
| Mistake | What happens | Prevention |
|---|---|---|
| Reusing the crush washer | A slow drip at the plug over days | Fit a new washer every time |
| Double gasket on the filter | Heavy leak, possible oil starvation | Check the old gasket came away with the filter |
| Dry filter gasket | Gasket tears or grips, leaks or seizes on | Wipe fresh oil on it before fitting |
| Overtightening the plug | Stripped oil pan threads | Torque to the manual figure, no more |
| Overfilling | Oil foams, gets pushed out the breather | Add less than capacity, then top up to the mark |
The double gasket is the one that causes real damage rather than mess. When the old filter’s rubber ring stays stuck to the engine block and a new filter goes on top of it, neither seals, and the leak can be fast enough to empty the sump while driving. Running a finger around the mounting surface after removing the old filter takes two seconds and prevents it entirely.
After the change: the checks people skip
Four steps remain after the oil is in, and skipping them is what turns a successful oil change into a puddle or a warning light. None takes more than a minute.
- Confirm the level at the full mark. Check with the engine off and the oil settled, on level ground. Add in small increments rather than a full quart at a time. The method is in how to check your engine oil level.
- Recheck for leaks after the first drive. Look underneath the following morning as well as immediately after. A slow weep from the plug or filter shows up overnight rather than in the first minute.
- Reset the oil-life monitor. The reset procedure varies by vehicle and is in the manual. If your car has no monitor, write the date and mileage somewhere you will find it, because the next interval depends on knowing this one.
- Recycle the old oil and the filter. Both, not just the oil.
Disposal is not optional housekeeping. The EPA notes that used oil from a single oil change can contaminate a million gallons of fresh water, and that it is insoluble, persistent, and can contain toxic chemicals and heavy metals, and advises collecting it in a clean leak-proof container and draining the old filter for recycling alongside it. Auto parts stores and municipal household hazardous waste sites commonly take both at no charge. California’s certified collection centers, for instance, must accept at least five gallons per person per day free of charge, which is far more than one car produces. The same recycling logic applies to other vehicle consumables, as covered in what to do with old car batteries.
Getting it done at a shop? What to check
Paying someone else does not remove your verification step, it just changes what you check. Shops are generally careful, but the same handful of errors happen there and you are the one who discovers them.
Before you leave the forecourt:
- Confirm the grade they used matches your manual, and ask them to note it on the invoice
- Confirm a new filter was fitted, not just topped-up oil
- Check the dipstick yourself while the car is still on site
- Confirm the oil-life monitor was reset, or reset it yourself
- Glance underneath for drips before driving away
- Check the windshield sticker against your manual’s interval rather than treating it as authoritative
That last point matters because sticker intervals are often shorter than the manufacturer’s schedule. When the two disagree, the manual wins, and the reasoning is in how long a car can go without an oil change.
Frequently asked questions
What do you need for an oil change?
You need the correct oil grade and amount for your engine, a new oil filter, a new drain-plug crush washer, a drain pan, a socket and filter wrench, a funnel, gloves, and a safe way to lift the car such as ramps or a jack with rated stands. Check the manual first.
What should you check after an oil change?
Check that the oil level sits at the full mark once it has settled, look for leaks at the drain plug and filter both immediately and the next morning, reset the oil-life monitor, and recycle the old oil and filter. These closing checks are the ones most often skipped.
Do you need to replace the drain plug washer?
Replace the crush washer every oil change. It is designed to deform once to seal against the oil pan, so a reused washer often produces a slow drip that shows up days later. New washers cost very little and are the cheapest insurance against a leaking drain plug.
How do I dispose of old motor oil?
Take used oil and the old filter to an auto parts store, a municipal household hazardous waste site, or a certified collection center, many of which accept both free. Never pour oil down a drain, onto the ground, or into household trash, because used motor oil is hazardous waste.
What to do now
Get your oil grade, capacity, and drain-plug torque from the manual, then gather everything including a new filter and a new crush washer before the car goes up. Drain warm, fit the new washer, oil the filter gasket and hand-tighten it, refill slightly under capacity, then run the engine, check for leaks, and top up to the full mark. Finish the job properly: recheck for leaks the next morning, reset the oil-life monitor, and take the old oil and filter to a recycling drop-off. Never work under a car on a jack alone.
For intervals, leaks, consumption, and everything else, see the complete oil and engine oil guide, or browse the wider automotive care and repair section.
